Temple of the Hidden Minotaur
Owner:
Ben
Fab Help:
Patrick, Andy, Shane, Gip, Amy, Echo, Katie H.
Solution:
TINNITUS
Partial Answers
LISTENUP: Keep going
Presentation:
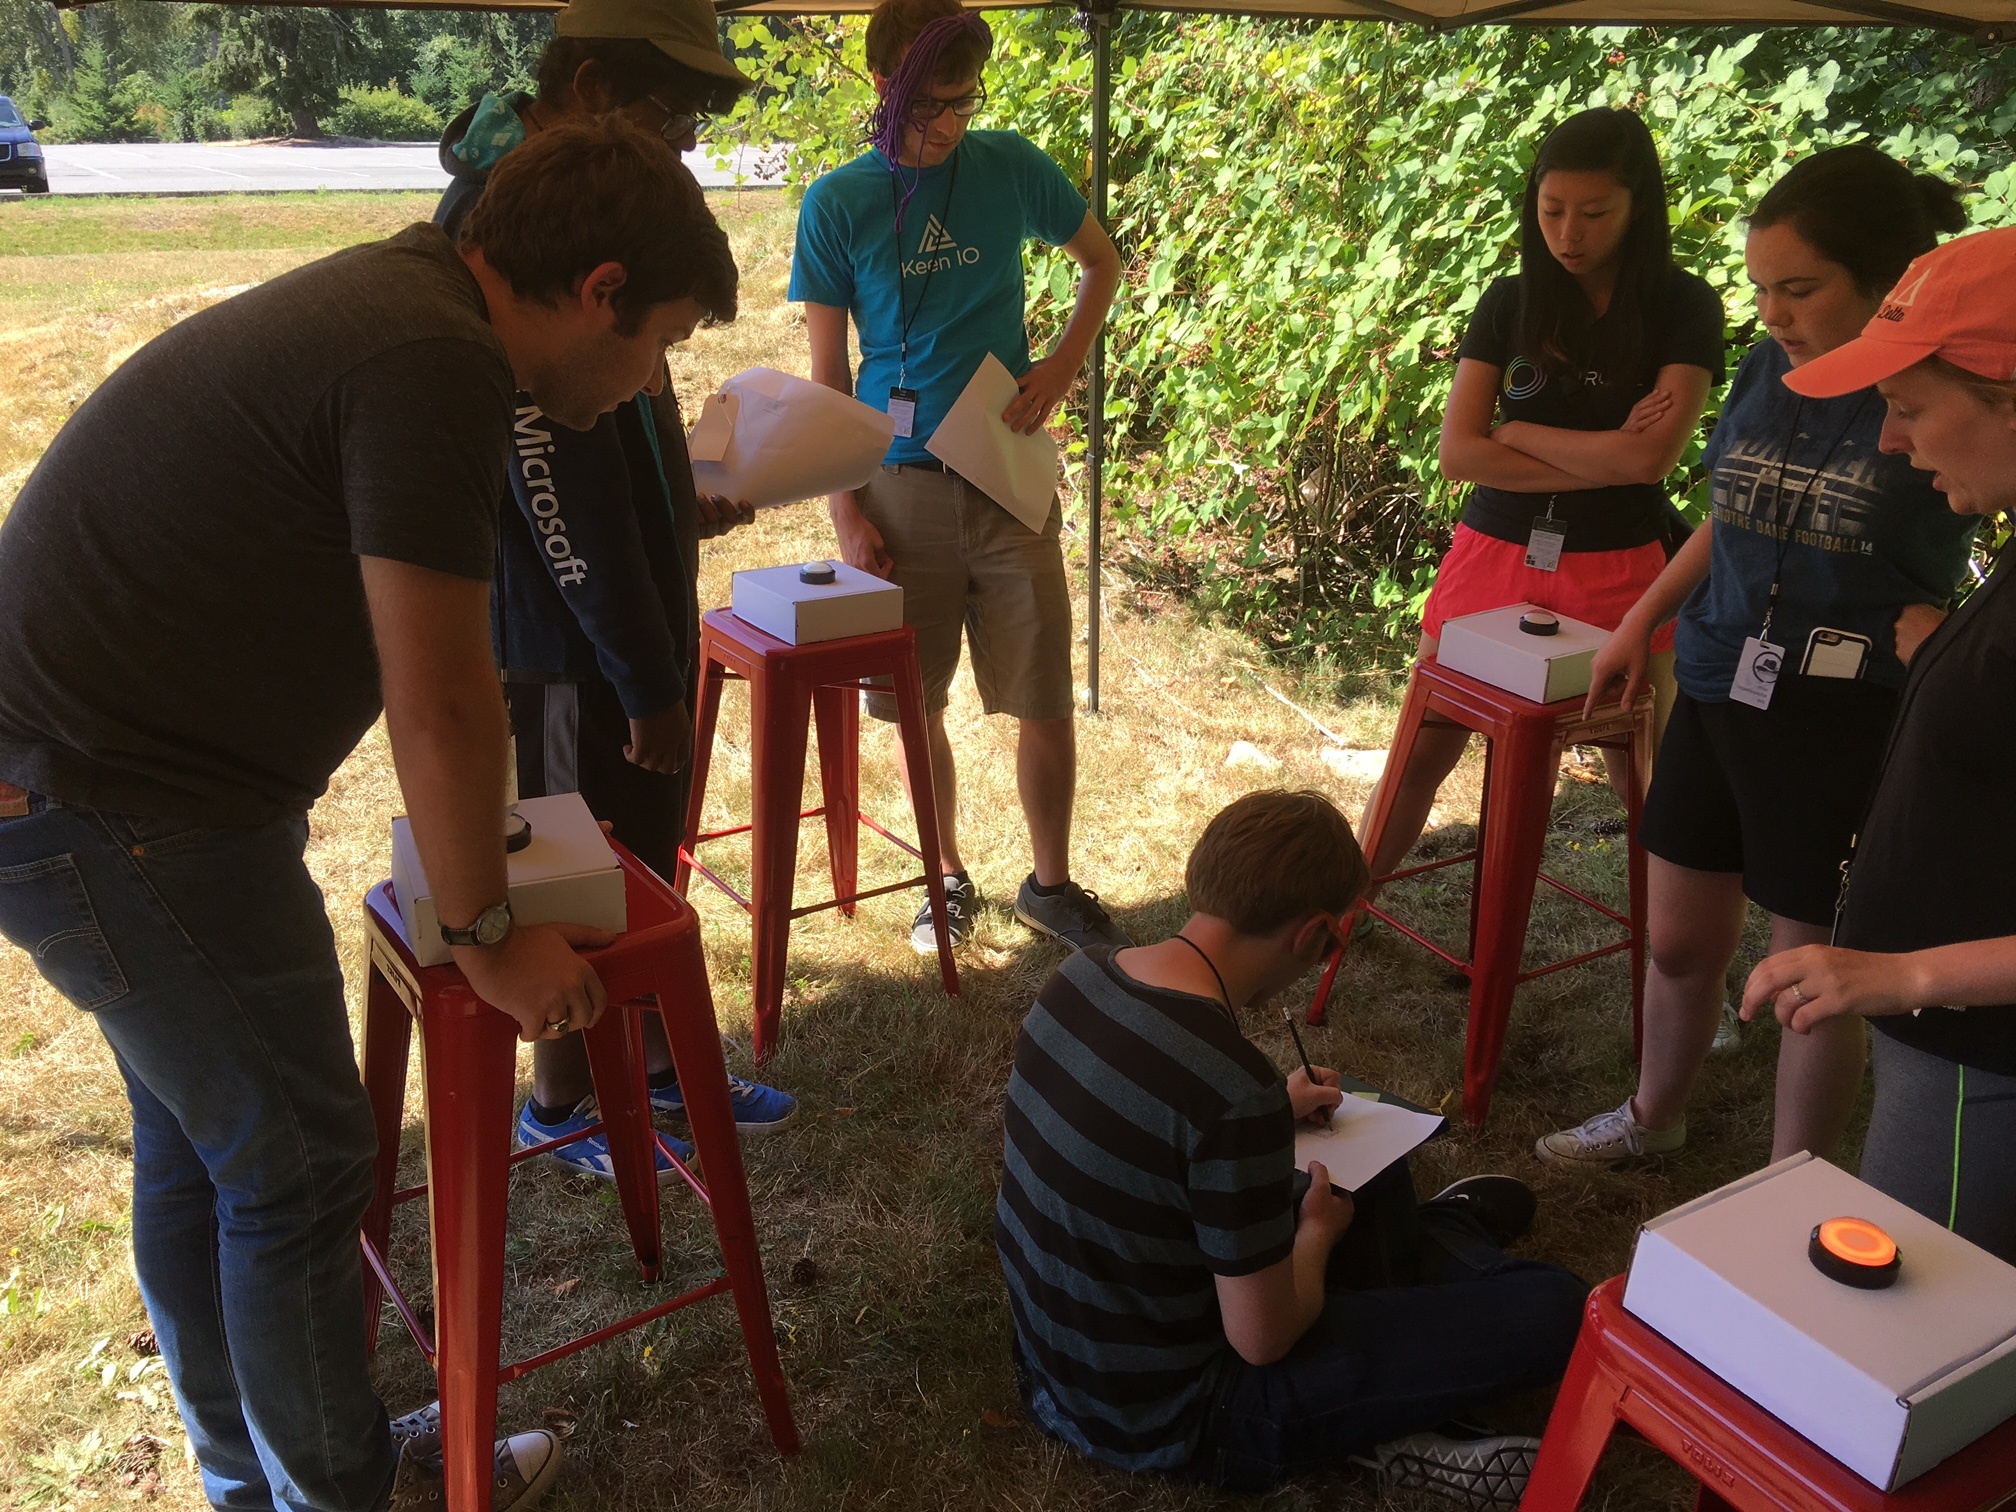
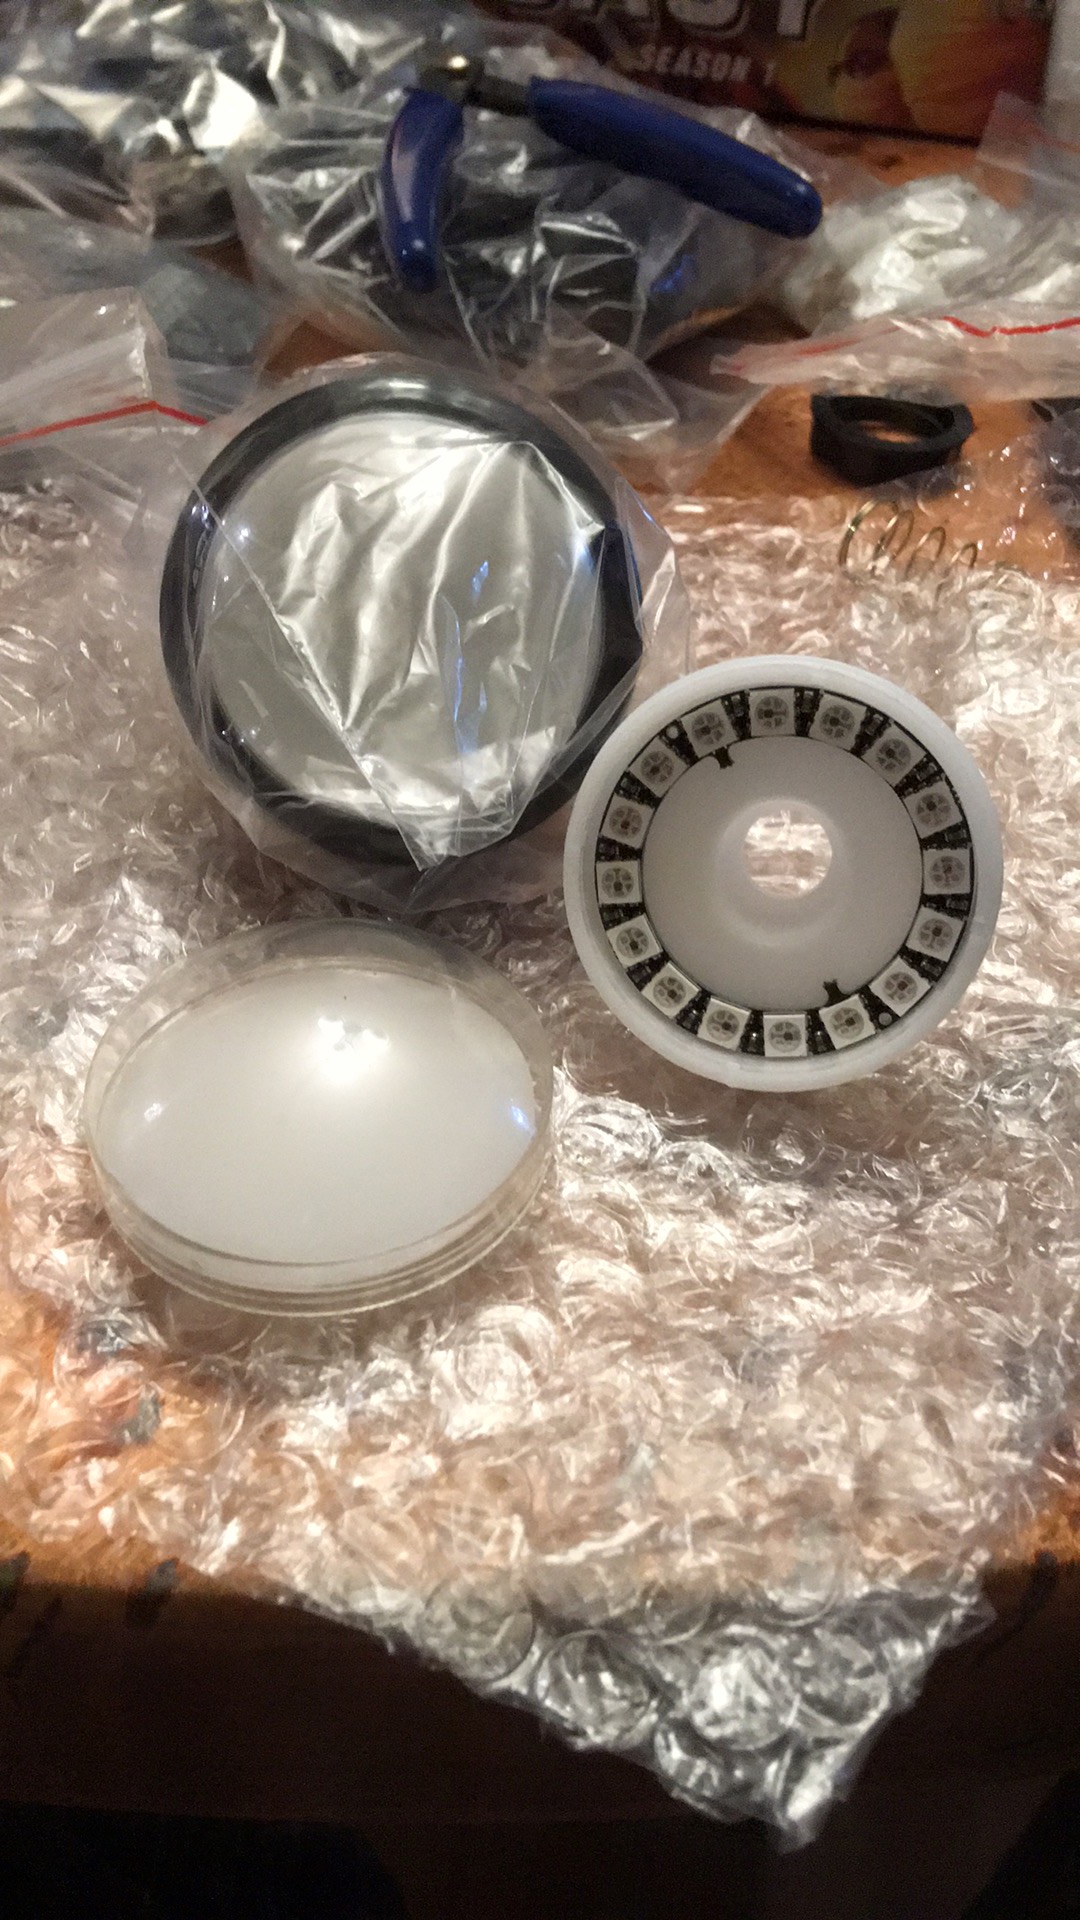
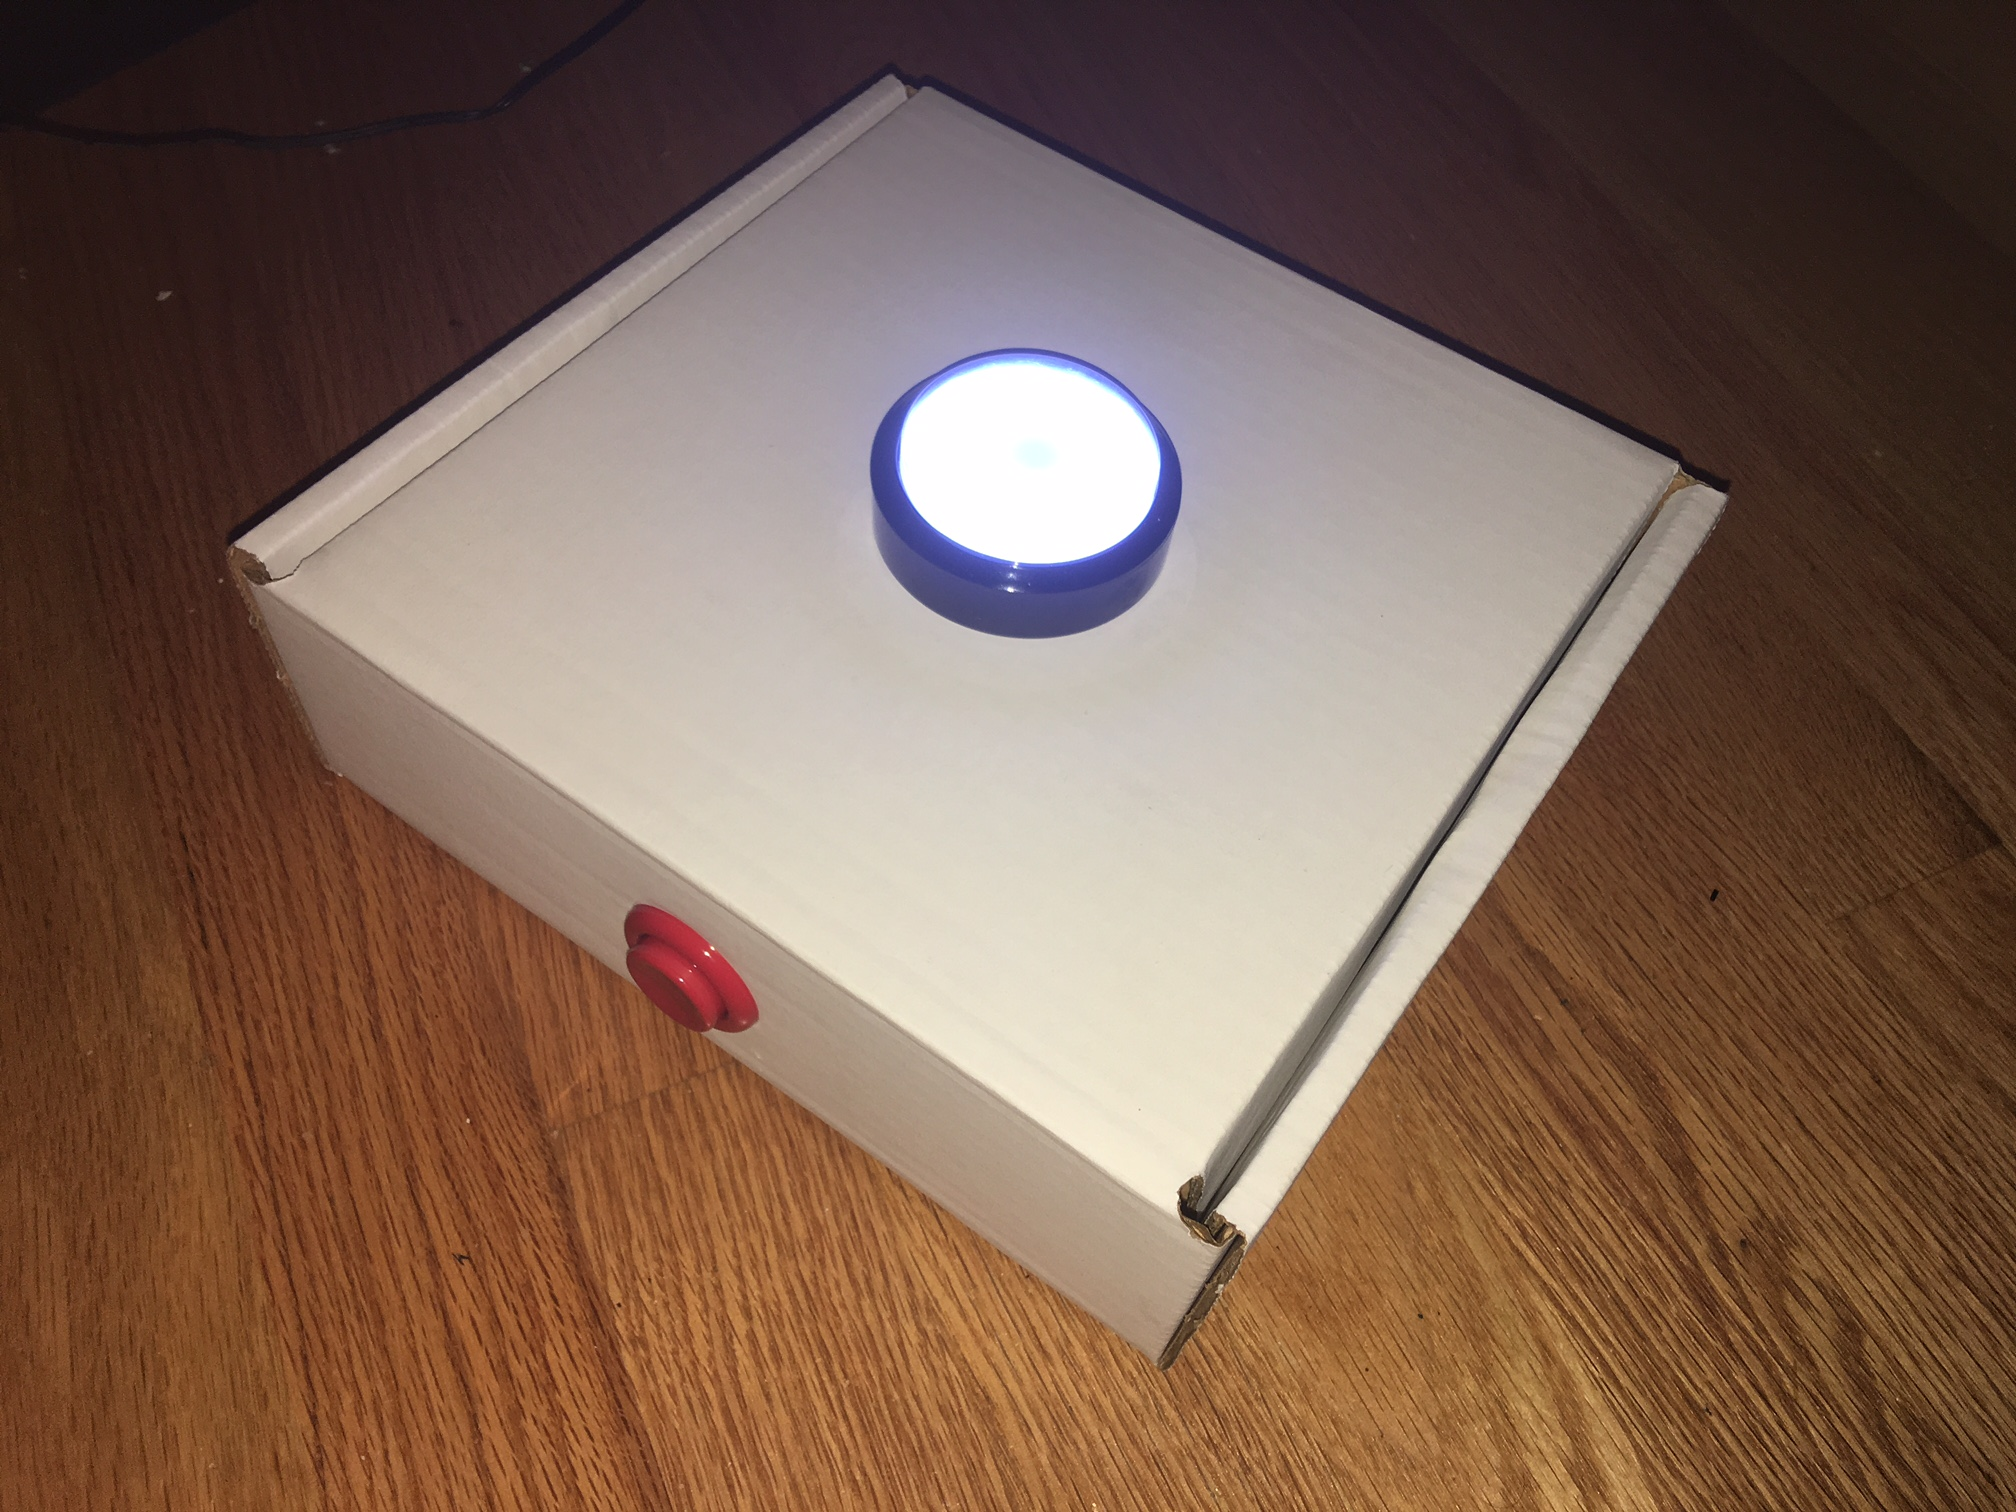
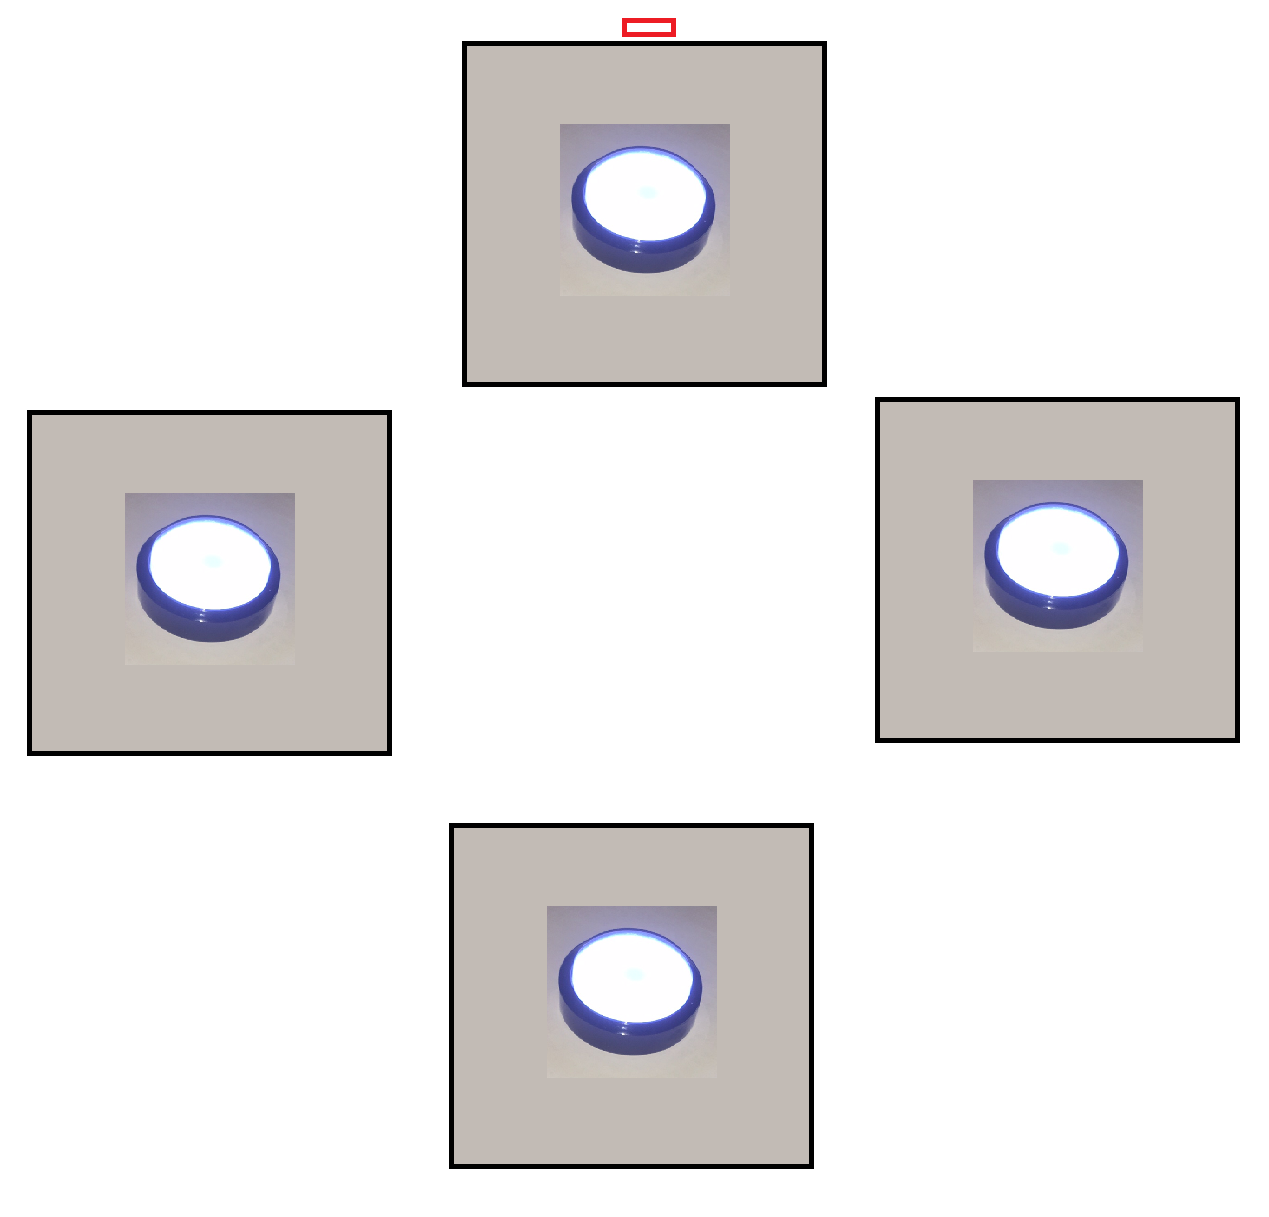
Teams see four white 8" square boxes on pedestals or a table. They are oriented in a + configuration. Each box has a large 3" diameter button on the top that is lit with an LED ring. One box also has a small red arcade button on the side.
- Teams also receive a map:
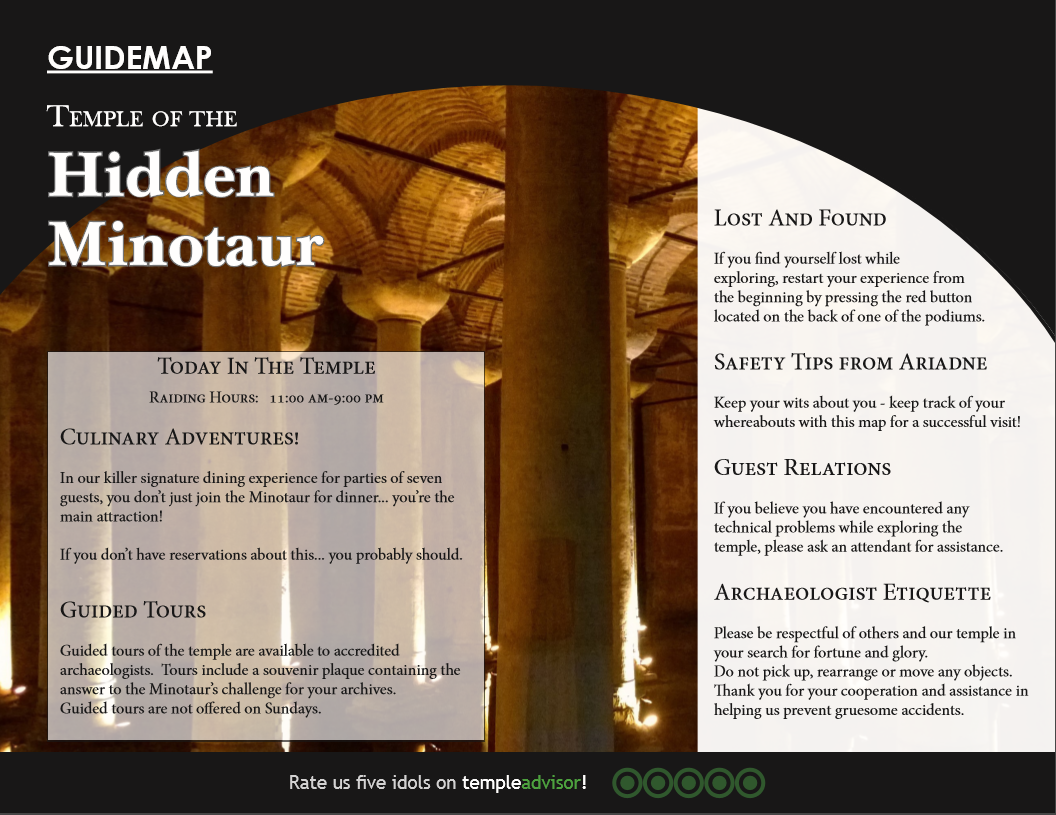

<<hiddenminotaur_vfinal.pdf>> (PDF)
Walkthrough:
Video runthrough: templeofthehiddenminotaur
Temple of the Hidden Minotaur is a maze puzzle, where teams explore a set of passages and map their progress. This isn't immediately apparent to teams - at first, all they see are four buttons, only one of which is lit red.
It may take them a while to determine what's going on, but it turns out that the four buttons represent valid exits from the room you are currently located in. The starting room has three walls and only one valid exit (South); the second room has two exits (North and South). It's always possible to reverse your progress by going in the opposite direction, which is the best hook for teams to realize they're in a maze. If an exit is closed off, the button is dark and unilluminated, and pressing it does nothing.
In each room, a series of sounds is playing. The rhythm that's playing isn't important (it's randomly generated each time they move to a new room): the only thing that's important is the instrument playing it.
Here's an example of audio, including several room transitions, from the first instrument:
<<Walking Multiple Rooms.mp3>>
As they explore, they'll eventually reach a room where the buttons change color to orange. When they do, they'll notice that the instrument also changes. As they continue further, they'll find eight different colors and eight different instruments.
If they map the maze, they'll see that the shape of the maze spells the letters LISTENUP:

| Instrument | Color | Letter | Audio Sample |
|---|---|---|---|
| Kalimba (MIDI 109) | Red | L | <<01-Audio Track.mp3>> |
| Sitar (MIDI 105) | Orange | I | <<02-Audio Track.mp3>> |
| Glockenspiel (MIDI 10) | Yellow | S | <<03-Audio Track.mp3>> |
| Taiko Drum (MIDI 117) | Green | T | <<04-Audio Track.mp3>> |
| Honky-Tonk Piano (MIDI 4) | Teal | E | <<05-Audio Track.mp3>> |
| Sawtooth Lead 2 (MIDI 82) | Blue | N | <<06-Audio Track.mp3>> |
| Choir Aahs (MIDI 53) | Indigo | U | <<07-Audio Track.mp3>> |
| Orchestral Hit (MIDI 56) | Violet | P | <<08-Audio Track.mp3>> |
This means that the colors and instruments also correspond to letters.
At the end of the maze (off of the P), they'll find a linear sequence of rooms with the data needed to extract the answer. First is a sequence of eight rooms with the same color and instrument as before: this is to provide a reference so teams don’t have to traverse the entire maze if they want to hear a particular instrument again.
Then, there's another series of eight rooms where there are instruments playing, but no color data. (The buttons flash white briefly, then softly pulsate between random indistinguishable colors). This means they'll have to listen to the instruments to map them back to their colors and then to letters:
| Instrument | Original Color | Original Letter |
|---|---|---|
| Taiko Drum | Red | T |
| Sitar | Orange | I |
| Glockenspiel | Blue | N |
| Glockenspiel | Blue | N |
| Sitar | Orange | I |
| Taiko Drum | Red | T |
| Choir Aah | Indigo | U |
| Glockenspiel | Yellow | S |
The letters are the answer to the puzzle, TINNITUS.
Hinting:
Q: I'm completely lost and don't know where to start.
A: Try resetting the puzzle with the red button on the back. Then, press the only lit button and notice what changed. Try to figure out how to reverse your progress, and think about what the buttons mean as a result. Now pay attention to the guidemap and what it suggests you do for safety in the temple… make a map!
Q: I'm trying to listen for morse/braille/demonic voices in the sound, but I'm not getting anything.
A: The actual music isn't important, but the instrument playing it is. Have you noticed a correlation between the color of the current room and the music? If so, that's all you need to solve the puzzle.
Q: We're trying to make a map, but things don't seem to line up very well/consistently?
*A: Once teams press a valid button, they are locked out from further interaction until the transition is complete - so if they aren't careful and mash buttons, they may end up a little off pace. Make sure you wait for all transitions to complete before pressing a button again, and make sure you watch for the transition each time so you know exactly where you are. Patience is a virtue.
*
Q: I got to what looks like the end of the maze, but I don't know what all these colors and sounds mean.
A: Did you draw a map of the maze as you explored it? There's a series of sounds at the end; what else could the sounds correspond to?
Q: We got TINITUS, but it's wrong.
A: There's one double letter in the answer, where you move to another room and it has the same instrument. The final answer's a single word; try running what you got through a spell checker.
Q: Red button to reset? Uh, but all the buttons are red!
A: The guide is referring to the non-lit red push button on the back of one of the boxes, not the illuminated buttons on the top. The staffer responsible for this confusion has been thrown in a pit of snakes as punishment; sorry.
Q: What's this about guided adventures and culinary tours?
A: The jokes in that box are just for fun. Focus on the content on the right side of the sheet (from 'lost and found' to 'archaeologist etiquette'.)
Staff Setup:
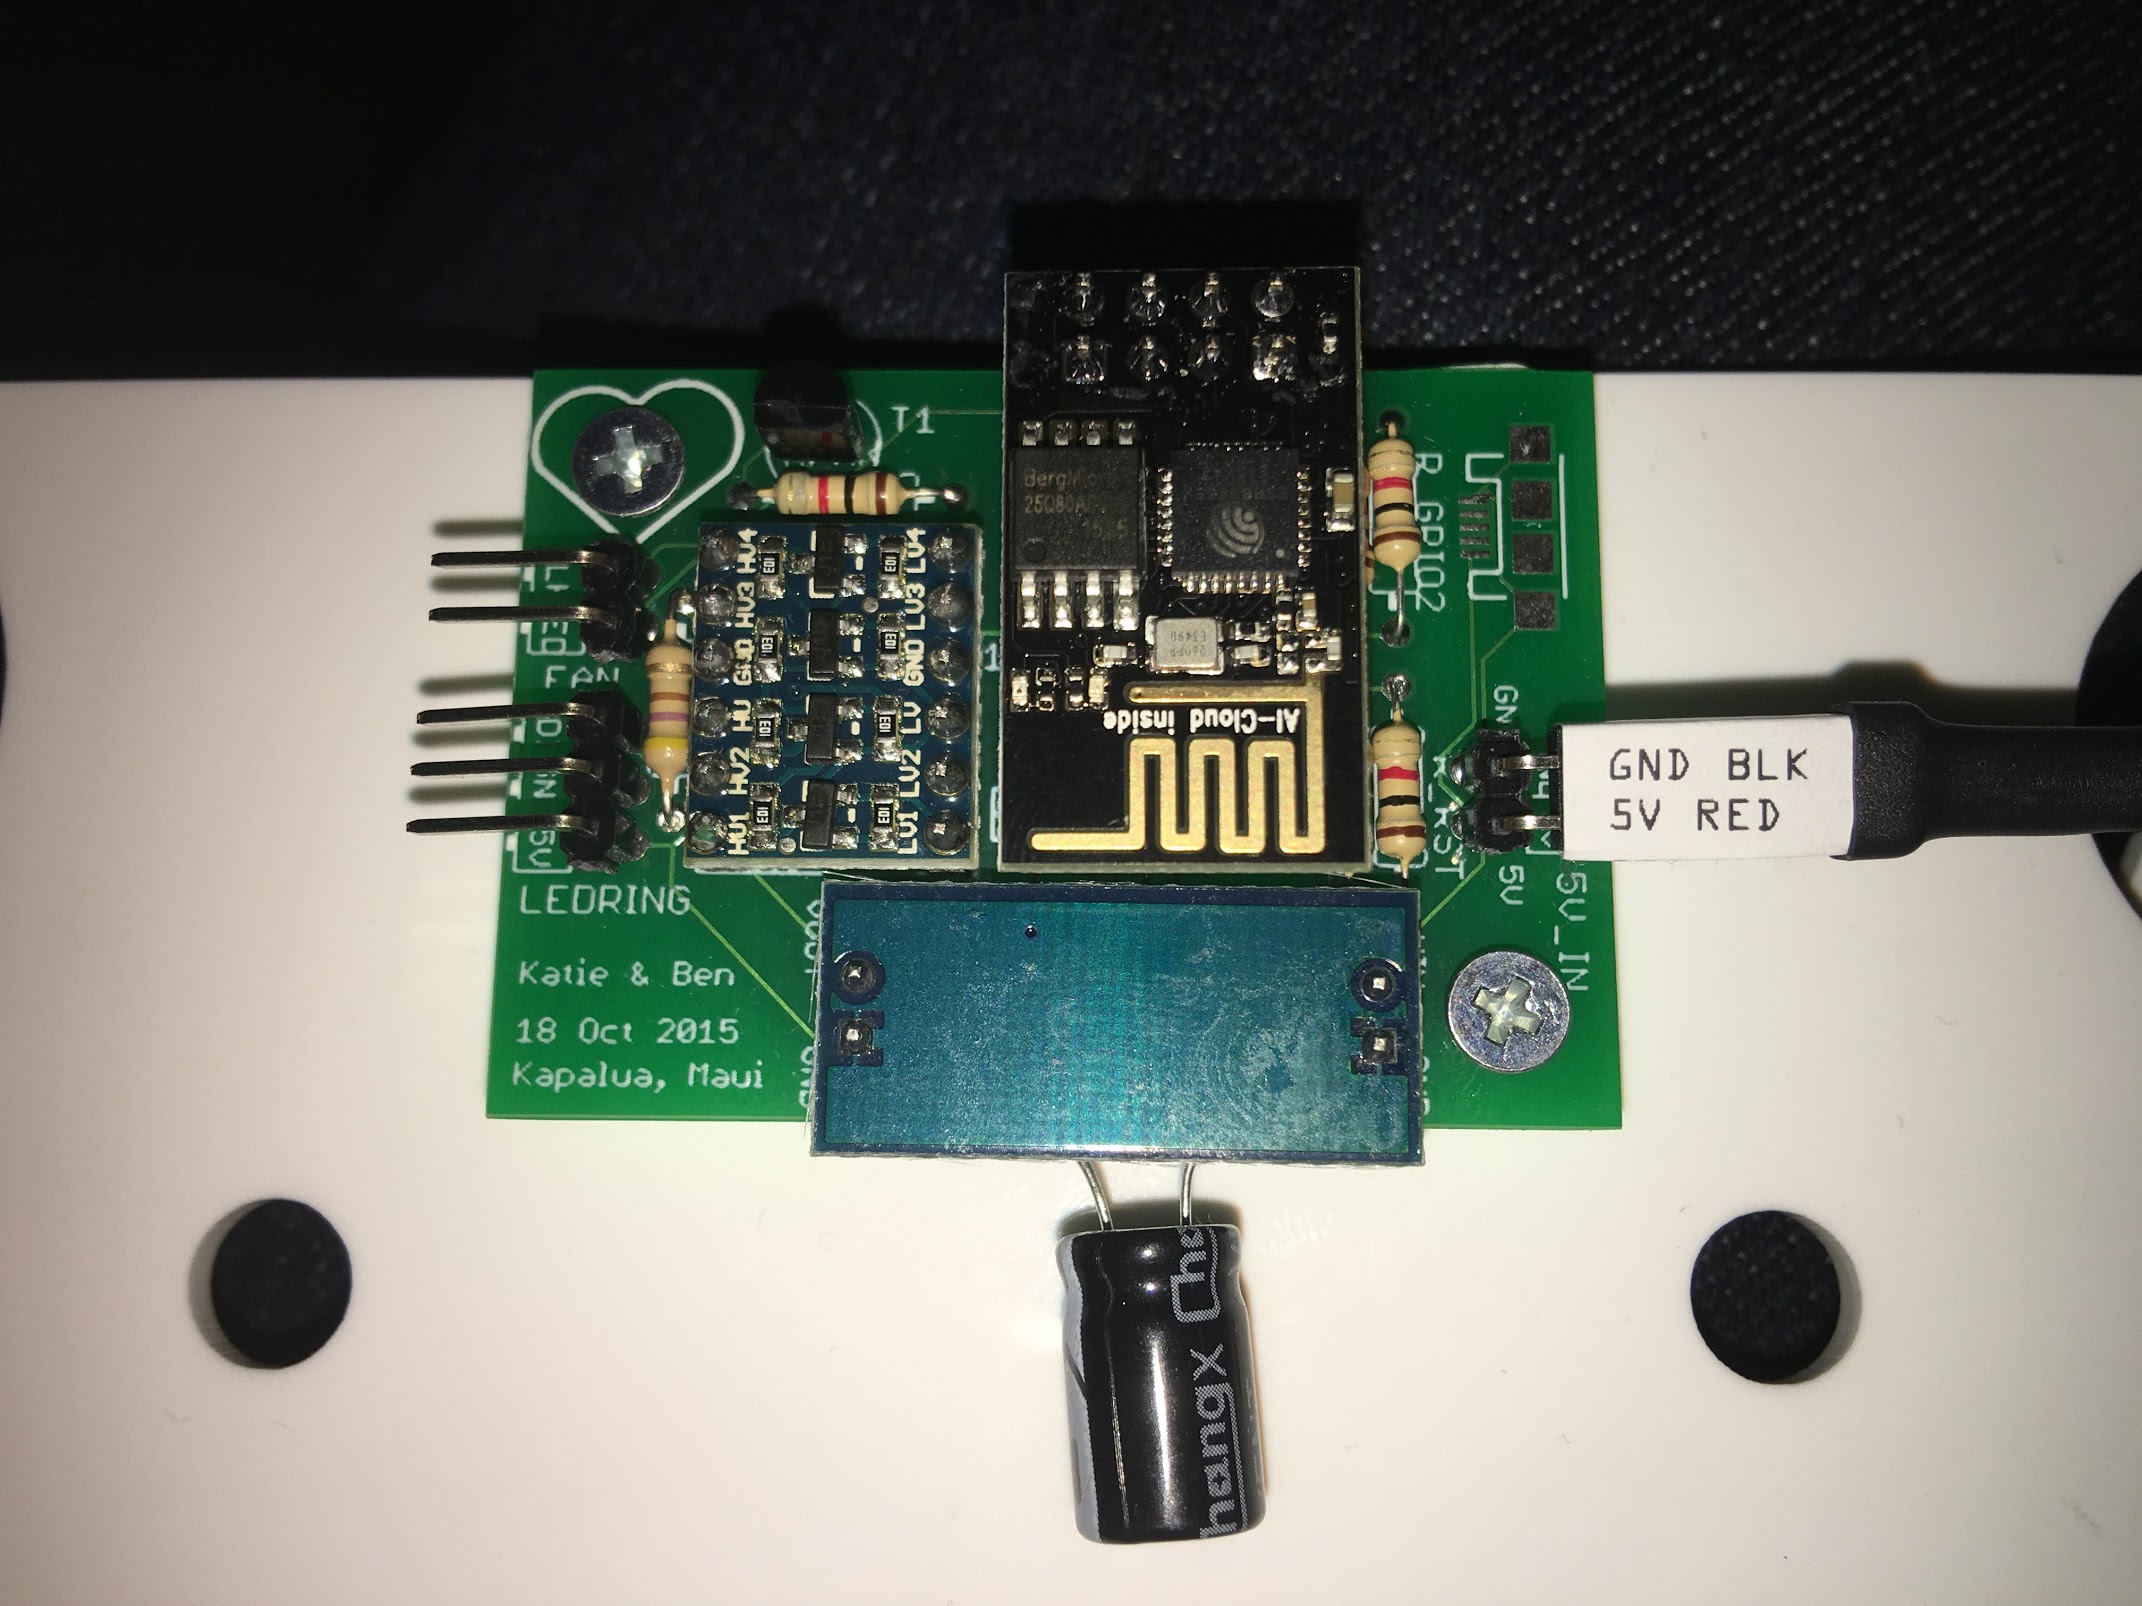
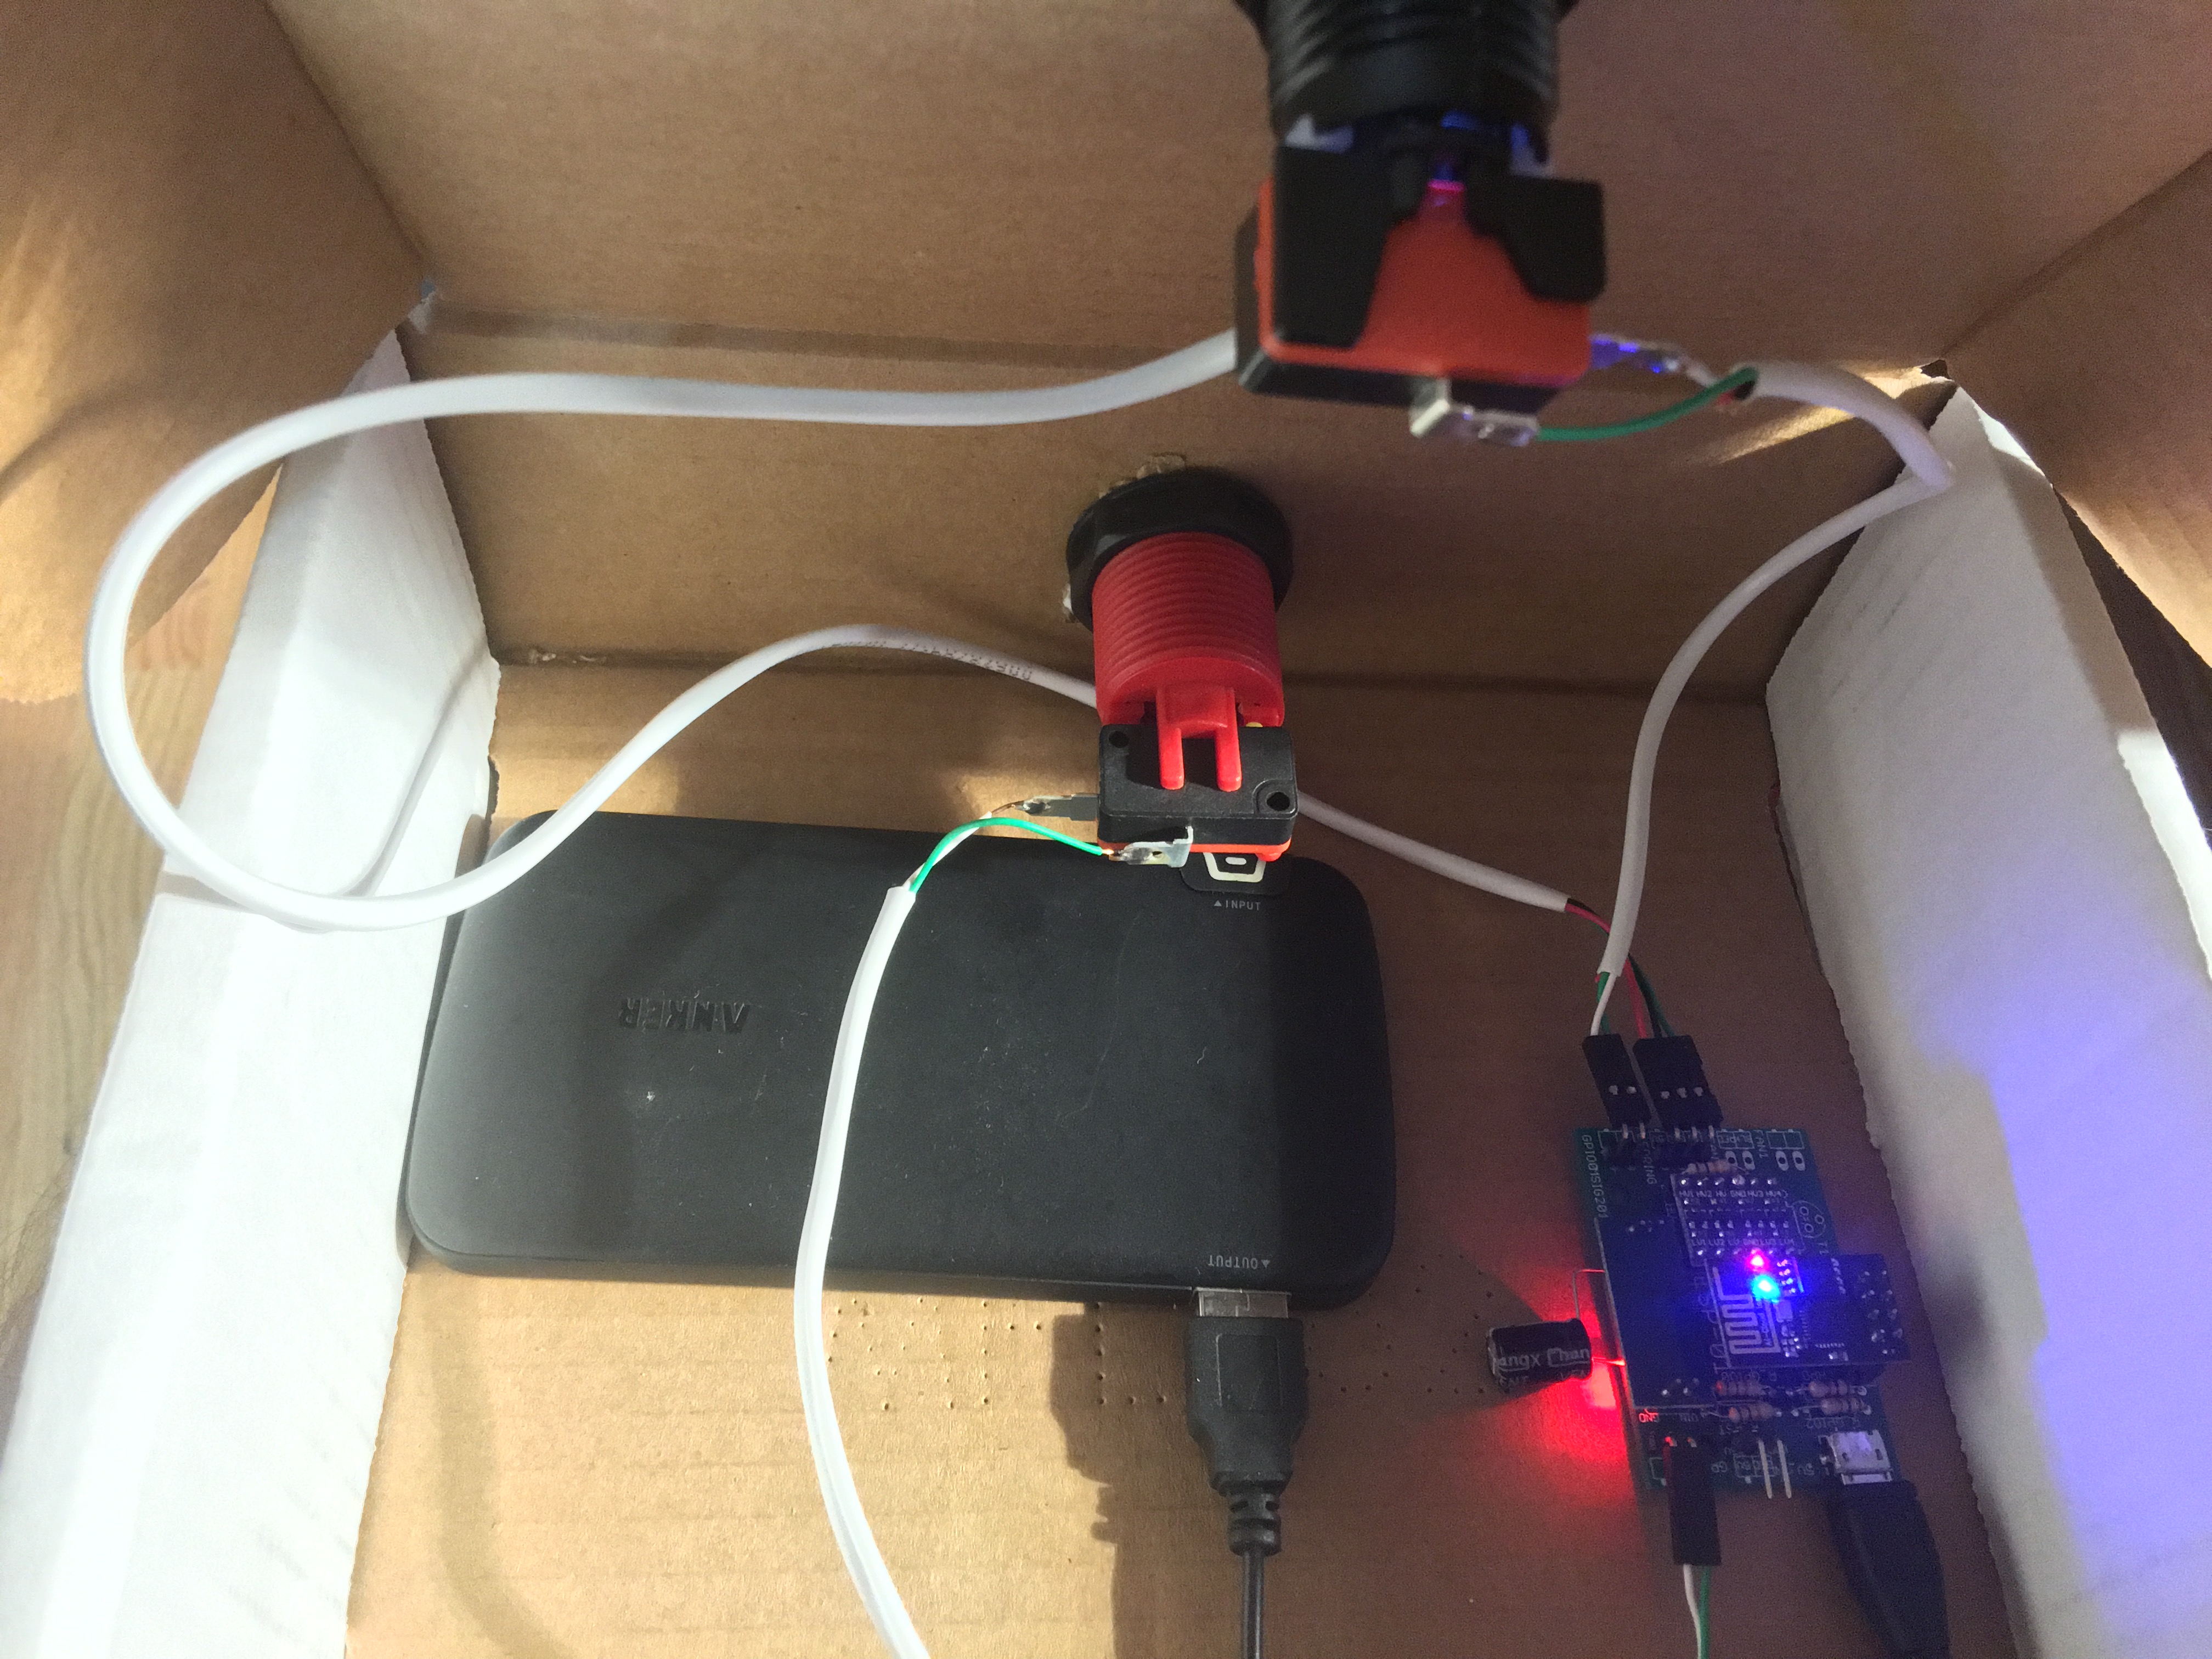
Plug in the power cable for each box. Match the red wire on the power cable with the +5 silkscreen on the circuit board. (Make sure both the red and blue lights on the microcontroller illuminate. If only the red one illuminates, unplug and try again.). Boxes should be pulsating red.
Plug in the travel router to the USB battery pack. Wait until the Minotaur0# access point comes online. At this point, the boxes should start pulsing yellow.
Arrange the boxes in a + configuration as shown above on pedestals or a table.
Power on the laptop.
Right-click the Minotaur shortcut on the desktop and choose Run as Administrator
Use the onscreen UI to assign each box a direction:
Click a box in the list
Click Identify to determine which box it is (it will briefly flash green)
Pick a direction from the dropdown and choose Assign
Repeat as necessary until all boxes match the physical layout. Make sure to assign the box with the red button on the back "north"
Turn on the portable speaker, connect it to the laptop, and make sure it's loud enough to be audible by the teams.
Make sure to point out to each team where the reset button is when they arrive, and make sure to press it between teams.
Fun Trivia
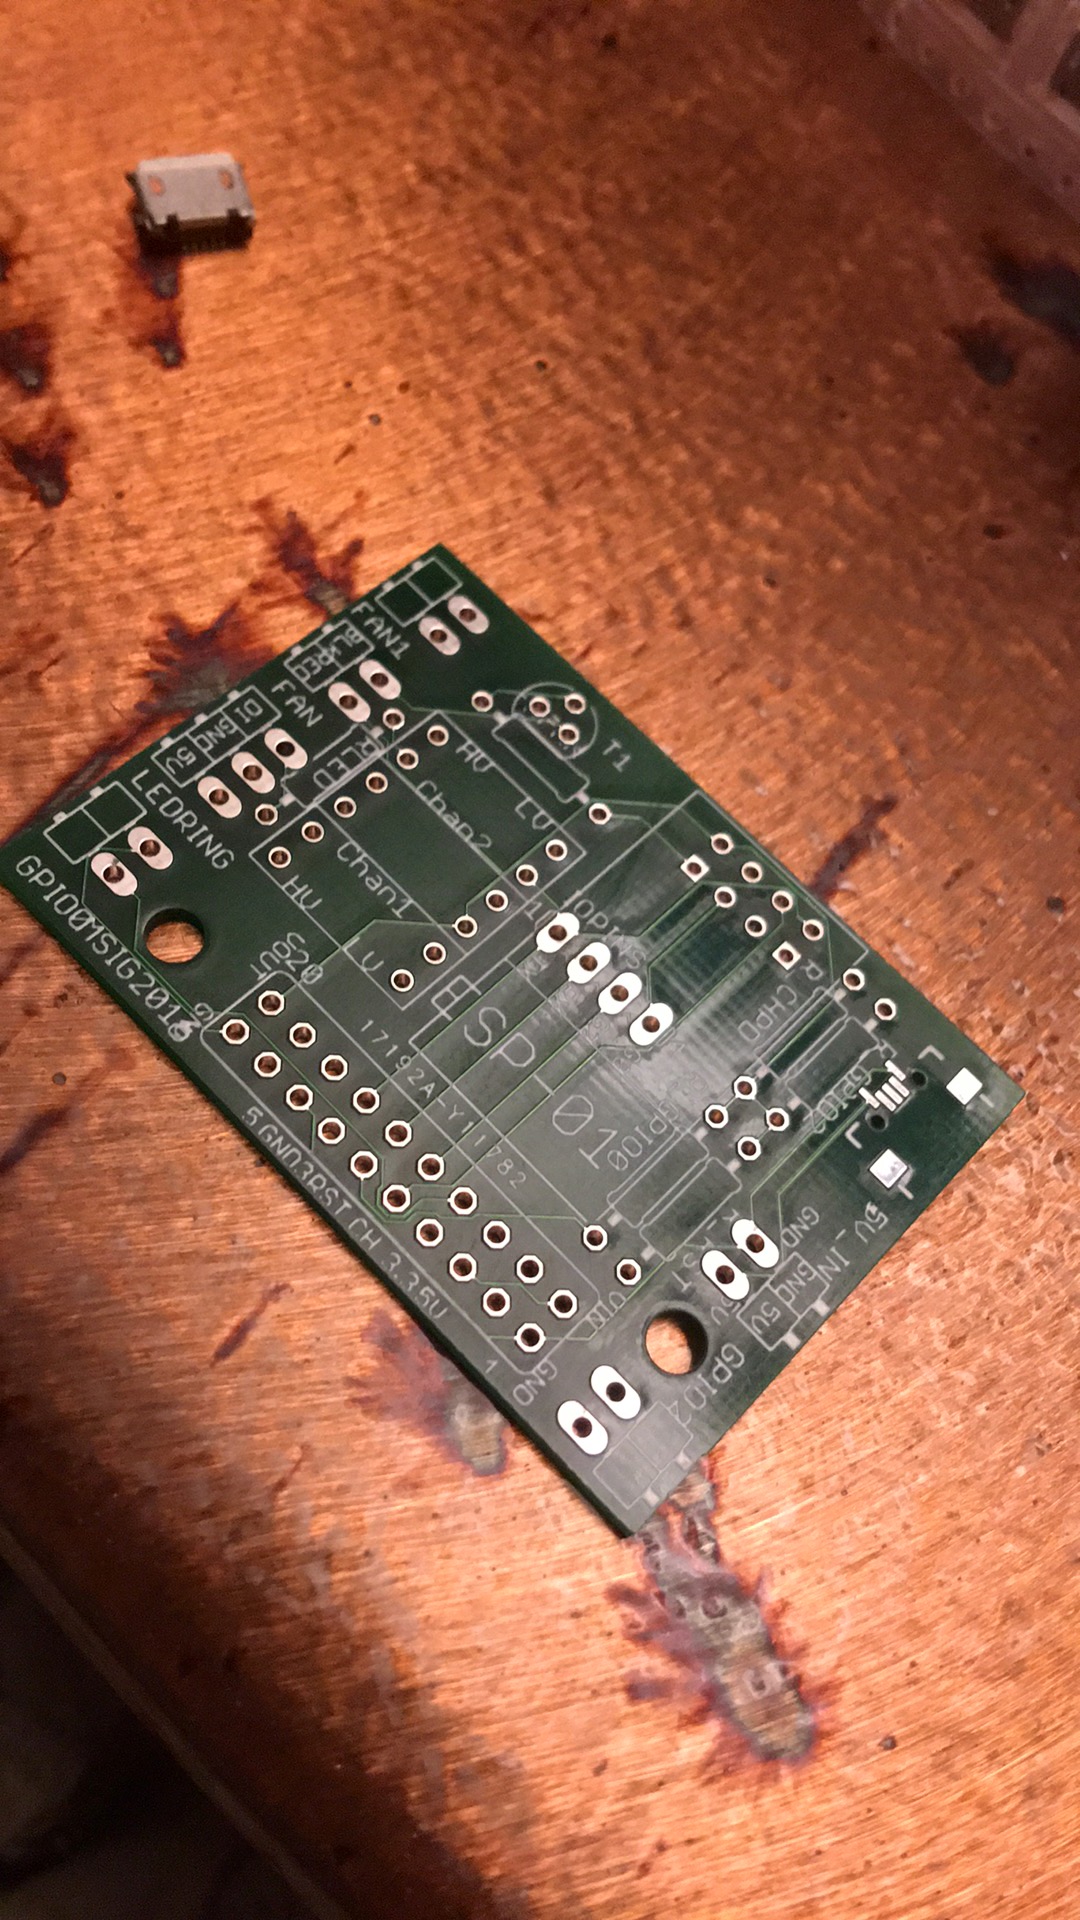
The boxes are all completely independent, battery-powered devices that communicate over wi-fi
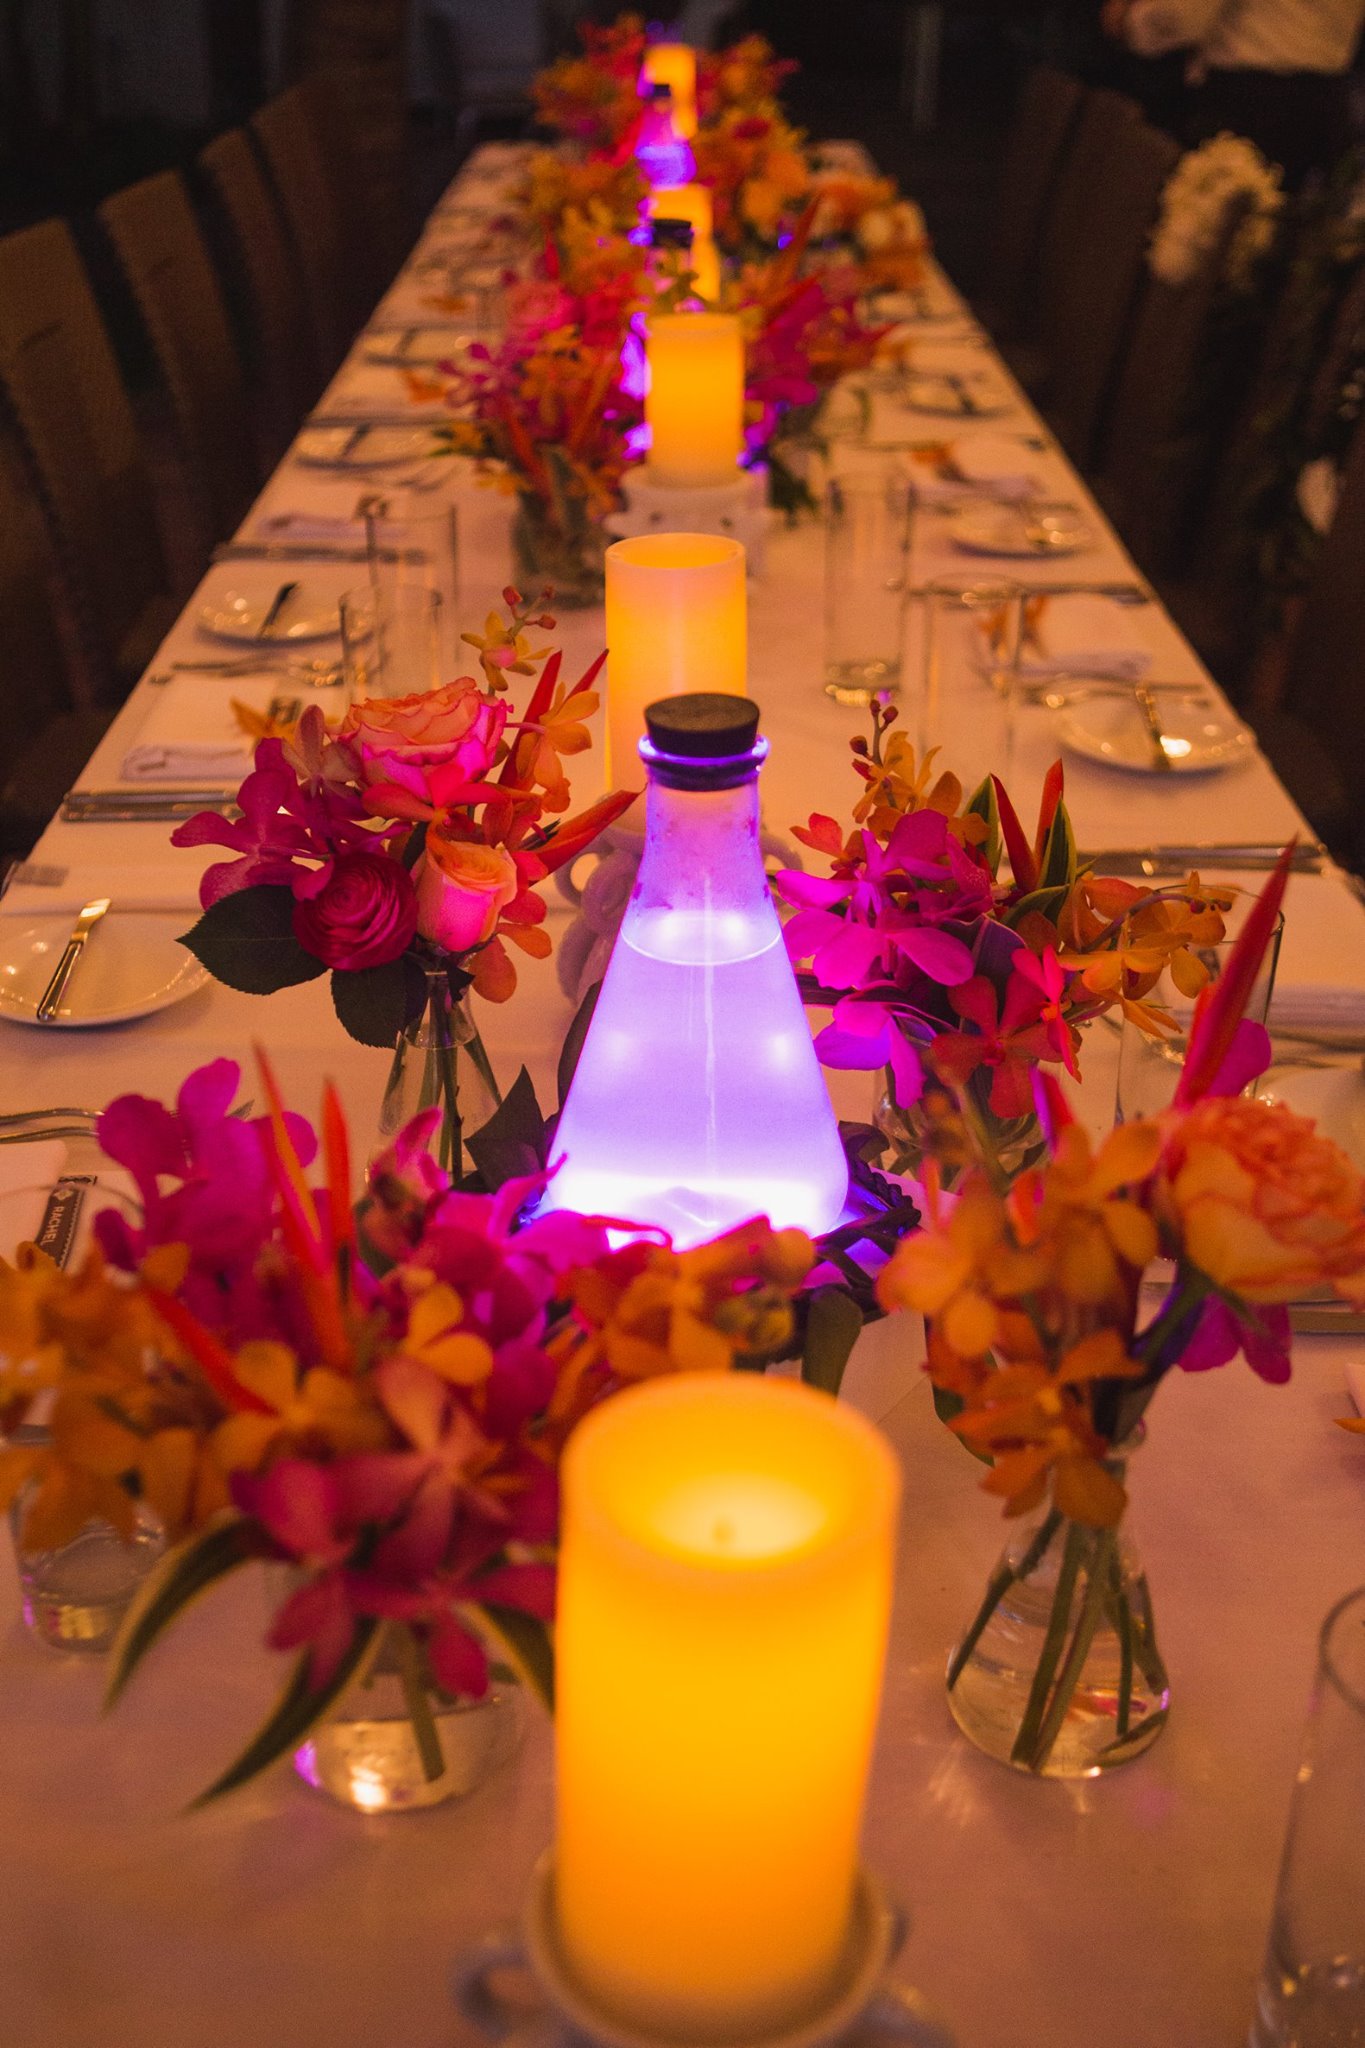
The hardware for this puzzle was originally designed as a science themed wedding centerpiece. They had to be battery powered because the wedding was held on the beach in Maui…
The temple photo on the guide map is the Basilica Cistern in Istanbul, Turkey and was taken by the puzzle author. Conveniently, the braces on the pillars are a great clue as to how the puzzle works for teams.
Photos
Why the name? http://interngame.com/gumshoe/?id=minotaur